Add free search for your website. Sign up now! https://webveta.alightservices.com/
Categories
.Net C# Solr

Some performance tips when ingesting documents into Solr

As mentioned in several blog posts earlier, I have been building PodDB on Microsoft.Net platform and Solr. Solr is built on top of Apache Lucene.

Lucene.Net is a very high-performance library for working directly with Apache Lucene, SolrNet is a library for working with Solr. Solr is very customizable, fault-tolerant and has several additional features available out of the box and is built on top of Lucene. Working with SolrNet can be a bit slow because all the API calls are routed via a REST API. The usual overhead of establishing network connection, serializing and deserializing JSON or XML.

Over the past few days, I have been working on a small subset of documents (approximately 275 – 300, the same would be part of the Alpha release) and trying to tweak the settings for optimal search relevance. This required trying various Solr configurations, re-indexing data etc… The very first version of the data ingestion component (does much more pre-processing rather than just ingesting into solr) used to take about approximately 10 minutes. And now the performance has been optimized and the ingestion happens within 15 seconds. i.e over 4000% performance gain and entirely programming related.

The trick used was one of the oldest tricks in the book – batch processing. Instead of one document at a time for writing into a MySQL database and writing into Solr, I rewrote the application to ingest in batches and the application was much faster.

Batching with multi-threading might be even faster.

In other words instead of calling solr.Add() for each document, create the documents, hold them in a list, call solr.AddRange().

Similarly for solr.Commit() and solr.Optimize() batch the calls i.e call those methods once for every 1000 or so documents rather than every document.

Assuming doc is a Solr document that needs to be written. For example:

//NO
solr.Add(doc1);
solr.Add(doc2);
solr.Add(doc3);

//YES
var lst = new List<ENTITY>();
lst.Add(doc1);
lst.Add(doc2);
lst.Add(doc3);

solr.AddRange(lst);

I like to share knowledge, I am hoping this blog post helps someone.

My 2 cents to the world of the blogosphere!

Mr. Kanti Kalyan Arumilli

Arumilli Kanti Kalyan, Founder & CEO

B.Tech, M.B.A

Facebook

LinkedIn

Threads

Instagram

Youtube

Founder & CEO, Lead Full-Stack .Net developer

ALight Technology And Services Limited

ALight Technologies USA Inc

Youtube

Facebook

LinkedIn

Phone / SMS / WhatsApp on the following 3 numbers:

+91-789-362-6688, +1-480-347-6849, +44-07718-273-964

kantikalyan@gmail.com, kantikalyan@outlook.com, admin@alightservices.com, kantikalyan.arumilli@alightservices.com, KArumilli2020@student.hult.edu, KantiKArumilli@outlook.com and 3 more rarely used email addresses – hardly once or twice a year.

Categories
MySQL

Connecting to MySQL or MariaDB from Linux Command Line

There could be several reasons for working with MySQL from command prompt such as via SSH etc… This is a brief tutorial on some important mysql commands.

Connect by issuing the following command:

> mysql -u root -p

Then you might be prompted for password and after entering the correct password, MySQL shell would be accessible.

The following are some important commands for viewing databases, creating databases, creating users, and providing privileges. The commands are pretty much self-explanatory:

> show databases; -- Shows databases

> use <DATABASE_NAME>; -- Uses database, i.e next set of commands would be against the database, can be used on a necessity basis

> show tables; -- Viewing existing tables in a particular schema

> CREATE DATABSE <DATABASE_NAME>; - Creates a new schema

> CREATE USER 'new_user'@'localhost' IDENTIFIED BY 'password'; -- Creates a new user with userid of "new_user" and password of "password"

> GRANT PRIVILEGE ON database.table TO 'username'@'localhost'; -- Grants privileges on the specific table in the specific database

> GRANT PRIVILEGE ON database.* TO 'username'@'localhost'; -- Grants privileges on all tables in the specific database

> FLUSH PRIVILEGES; -- Not necessary but for the purpose of completeness

> exit; -- Exiting MySQL shell

MariaDB also has the same syntax.

Hoping this blog post helps someone.

Categories
.Net C#

A quick introduction to Dapper!

Dapper is a micro ORM tool with very high performance and very decent features. Dapper is one of my favourite tools. Dapper has excellent documentation here and here.

Dapper supports SQL statements and Stored Procedures. My preference is usually Stored Procs over SQL statements.

Dapper extends the IDbConnection interface and thus several methods are added on the connection object.

If you have a class Person with Id and Name, Dapper can handle mapping:

using(var connection = new MySqlConnection(connectionString){
    await connection.OpenAsync();

    var persons = await connection.QueryAsync<Person>("SELECT Id, Name FROM Person WHERE ....");
}

The above code snippet shows how to query the database and get a IEnumerable of Person objects.

There are several other methods, and each method has both synchronous and asynchronous versions, some of them have Generic versions for mapping to objects such as:

.Execute / ExecuteAsync
.ExecuteReader / ExecuteReaderAsync
.ExecuteScalar / ExecuteScalarAsync
.ExecuteScalar<T> / ExecuteScalarAsync<T>
etc...

Passing in parameters is also very straightforward, parameters can be passed in as an existing object or

new {Id = 1}

Even transactions and list of objects are supported.

Multiple resultsets are supported etc… If you are familiar with ADO.Net, using Dapper would be very easy, straightforward and much easier and has very excellent performance with minimal overhead.

Entity Framework is a close 2nd choice when dealing with Database-First approach. If using Code-First approach, Entity Framework would be the preferred choice.

Hoping this blog post helps someone.

Categories
Solr

Schemas and Configs in Solr

Solr has very extensive documentation and highly configurable. But for the purposes of getting started and keeping things simple, I am going to mention some important parts.

Solr can be operated with schema or schemaless. I personally would prefer proper schema. Solr allows storing values, skipping storage and just indexing or just storing without indexing. Similarly required or not, multi-valued, unique key etc…

Continuing from the previous blog posts of Getting started:

Getting started with Solr on Windows

Getting started with Solr on Linux!

First create a core by navigating to the solr directory and executing:

> solr.cmd create -c <NAME_OF_CORE>
// Example for creating a core known as "sample"
> solr.cmd create -c sample

Now navigate to <solr directory>\server\solr. Here you will find the sample directory. Inside sample directory, there would be a conf directory. The conf directory has the schema.xml and solrconfig.xml.

Now let’s delve into some Schema.xml:

The most important part is defining the schema, the copyField’s.

Let’s assume our schema requires a unique id, title, description and tags.

id is going to be a unique field, we want title, description and tags to be indexed. Same object can have multiple tags, so tags would be multi-valued.

We would add the following:

<field name="Title" type="text_general" indexed="true" stored="true"/>
<field name="Description" type="text_general" indexed="true" stored="true"/>
<field name="Tags" type="text_general" multiValued="true" indexed="true" stored="true"/>


<field name="id" type="string" multiValued="false" indexed="true" required="true" stored="true"/>

The “id” field would exist, we don’t want to add another “id” field, verify the syntax matches. Now we want to copy the values from Title, Description, Tags into _text_ and want _text_ to be indexed. Some people would try to copy * into _text_ as in all the fields. But in some schemas there may be meta information such as dates etc… So specifying which particular fields need to be copied would help. The next code block shows the copyfields.

<copyField source="Title" dest="_text_" />
<copyField source="Description" dest="_text_" />
<copyField source="Tags" dest="_text_" />

Now let’s delve into solrconfig.xml:

Search for <requestHandler name=”/select” class=”solr.SearchHandler”>

Inside this tag we can specify default page size, default field to index, any default facets etc. Let’s assume we want to set default page size of 10, default field to search of _text_ and faceting on Tags.

<requestHandler name="/select" class="solr.SearchHandler">
    <lst name="defaults">
      <str name="echoParams">explicit</str>
      <int name="rows">10</int>
      <str name="df">_text_</str>

      <str name="facet">on</str>
      <str name="facet.field">Tags</str>
    </lst>
  </requestHandler>

If config or schema changes, the core needs to be reloaded.

More Solr related Articles:

Schemas and Configs in Solr

Getting started with Solr on Windows

Getting started with Solr on Linux!

Hoping this blog post helps someone.

Categories
Solr

Getting started with Solr on Linux!

As promised in a previous blog post Getting started with Solr on Windows, posted few minutes ago, here is the Getting started on Linux.

First install Java. This blog post is based on Ubuntu 20.04 server.

> sudo apt update
> sudo apt upgrade
> sudo apt install default-jdk -y
> sudo wget https://dlcdn.apache.org/solr/solr/9.0.0/solr-9.0.0.tgz
> sudo tar xzf solr-9.0.0.tgz
> sudo bash solr-9.0.0/bin/install_solr_service.sh solr-9.0.0.tgz

Then navigate to http://localhost:8983/solr/ you should see a webpage that looks similar to:

Solr Admin Ubuntu

If you need access from a different computer, remember to allow port 8983 with the following command:

> sudo ufw allow 8983

Now we have seen Getting started with Solr on Windows and Getting started with Solr on Linux. In a future blog post, we will see how to create cores, define schema, add documents for indexing using C#, how to search through the documents using C#. This blog post would be updated with the links to the relevant blog articles when those blog posts are published.

More Solr related Articles:

Schemas and Configs in Solr

Getting started with Solr on Windows

Getting started with Solr on Linux!

Here are some excellent getting started documentation from Solr:

https://solr.apache.org/guide/solr/latest/getting-started/solr-tutorial.html

For production grade deployment:

https://solr.apache.org/guide/solr/latest/deployment-guide/solr-control-script-reference.html

https://solr.apache.org/guide/solr/latest/configuration-guide/configuration-files.html

Categories
Solr

Getting started with Solr on Windows

This blog post is purely about getting started with Solr. A programming related blog post would be posted later. Getting started on Linux would also be posted later.

Download the latest version of Solr from https://solr.apache.org/downloads.html. As of this blog post the latest release was 9.0.0 and I have downloaded the Binary release from https://www.apache.org/dyn/closer.lua/solr/solr/9.0.0/solr-9.0.0.tgz?action=download.

Once downloaded extract the files. For this blog post, I have extracted the files on Windows under C:\solr.

Solr requies Java. Download and install Java from https://www.oracle.com/java/technologies/downloads/. Set the environment variable JAVA_HOME to the JRE directory.

JAVA_HOME environment variable on Windows.

Now navigate to C:\Solr in command prompt and enter the following:

bin\solr.cmd start

This should start Solr, if not, verify your Java installation and environment variable.

Now navigate to http://localhost:8983/ in your web browser. You should see a web page that looks something like this:

Solr Admin Web Page

You might not see the Core Selector dropdown but the web page should look similar.

Getting started with Solr on Linux.

In a future blog post, we will see how to create cores, define schema, add documents for indexing using C#, how to search through the documents using C#. This blog post would be updated with the links to the relevant blog articles when those blog posts are published.

More Solr related Articles:

Schemas and Configs in Solr

Getting started with Solr on Windows

Getting started with Solr on Linux!

Here are some excellent getting started documentation from Solr:

https://solr.apache.org/guide/solr/latest/getting-started/solr-tutorial.html

For production grade deployment:

https://solr.apache.org/guide/solr/latest/deployment-guide/solr-control-script-reference.html

https://solr.apache.org/guide/solr/latest/configuration-guide/configuration-files.html

Categories
.Net C# Lucene MultiFieldQueryParser

Lucene with C#

As part of development effort for PodDB – A search engine for podcasts – A product of ALight Technology And Services Limited, I have been deciding between Lucene.Net and Solr. I strongly suggest Solr over Lucene.Net if you want to scale. For smaller datasets, Lucene.Net shouldn’t be a problem. But, if you want to scale for larger datasets, want built-in sharding, replication features out of the box choose Solr. For smaller datasets and if you know, you wouldn’t be scaling into bigger datasets, Lucene.Net shouldn’t be a problem and as a matter of fact very efficient. With that said, I do have plans of scaling PodDB, if PodDB gains traction, so I chose Solr.

But for the sake of knowledge sharing, in this article, I am going to show how to use Lucene.Net for full-text indexing. I would not go over complex scenarios and at the same time, this article is NOT a Hello World for Lucene.Net.

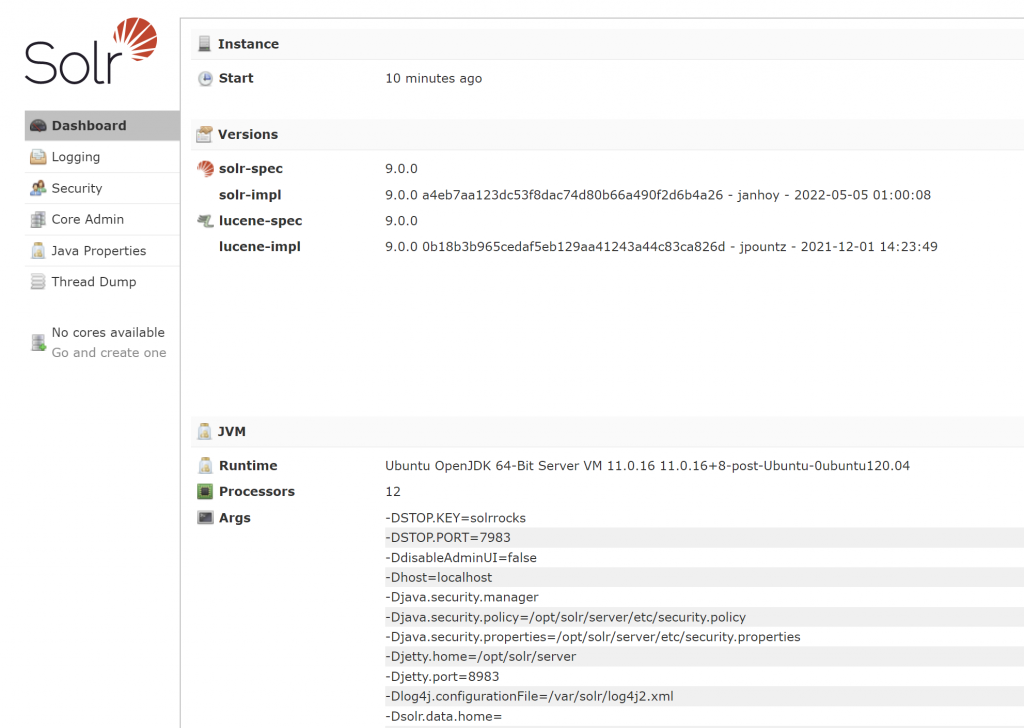
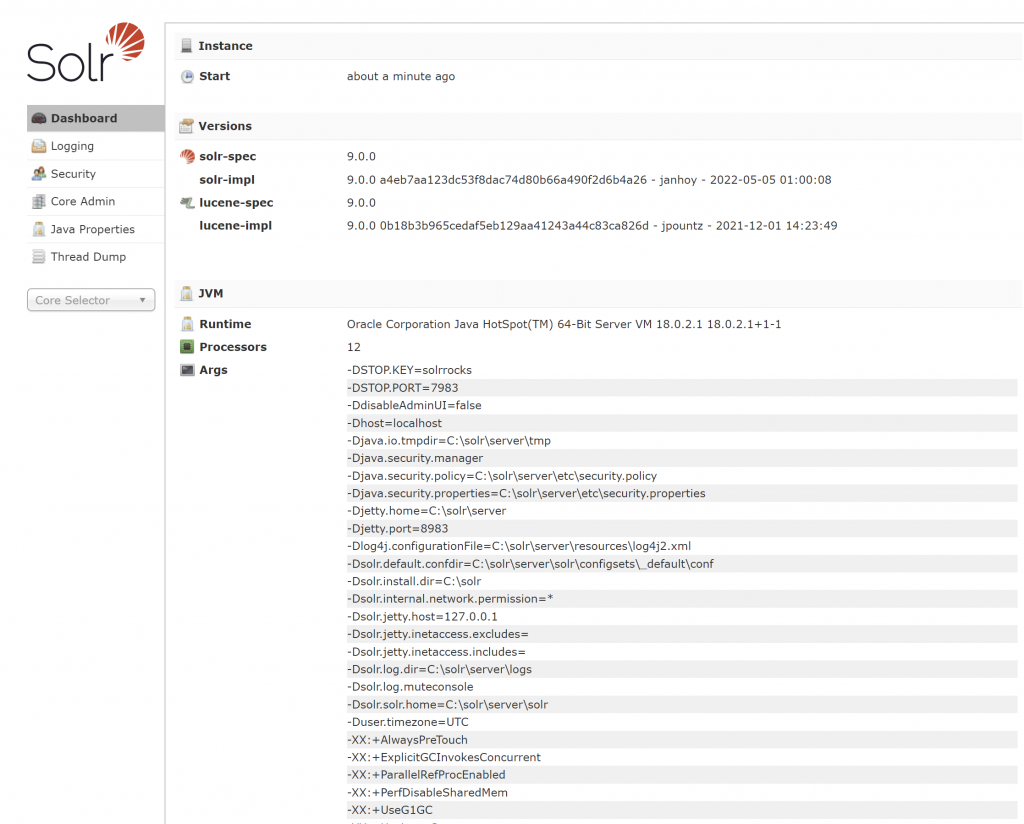
Moreover, Lucene.Net does not seem to be under active development. As of this blog post date – September 13tth 2022, there are no GitHub commits over the past 2 – 3 months. As software developers, technical leads, and architects we have the responsibility in making the proper choices for the underlying technology stack. Although, ALight Technology And Services Limited is not an enterprise yet, still, I would like to make decisions suitable over the long time.

Now let’s dig into some code.

Lucene.Net version 4 is in pre-release. Use the pre-release versions of Lucene.

Because Lucene.Net is in beta and there could be lot’s of breaking changes, the compatibility version needs to be declared in code.

private const LuceneVersion AppLuceneVersion = LuceneVersion.LUCENE_48;

Now we specify the directory where we want the indexes to be written and some initialization code.

var dir = FSDirectory.Open(indexDirectory);
var analyzer = new StandardAnalyzer(AppLuceneVersion);
var indexConfig = new IndexWriterConfig(AppLuceneVersion, analyzer);
var writer = new IndexWriter(dir, indexConfig);

Now, we use the IndexWriter for writing documents. There are primarily 2 types of string fields that are important.

  1. TextField – The string data is indexed for full-text
  2. StringField – The data is not indexed for full-data but can be searched like normal strings for fields such as id etc…

Based on the above-mentioned types, determine the data that needs full-text search capabilities and the data that would not need full-text search capabilities and if certain data needs to be stored in Lucene.

var doc = new Document
 {
    new TextField("Title", "Some Data", Field.Store.YES),
    new TextField("Description", "Description", Field.Store.YES),
    new StringField("Id", id, Field.Store.YES)
};

You can add as many TextField and StringField instances as needed. You can even create seperate instances of TextField and StringField and call doc.Add().

If you want to optimize the search results provided by Lucene, you can even specify the Boost of the TextField. By default the Boost i.e weight given to any field in 1.0. But can specify a higher weighting for a certain field. For example, if a keyword is in title you might want to boost the entity.

Add the doc instance to writer and flush();

writer.AddDocument(doc);
writer.Flush(triggerMerge: false, applyAllDeletes: false);

For speed and efficiency batch the documents before calling Flush, instead of calling Flush for every document.

Assuming you have built your indexes. Now let’s start to retrieve.

using var dir = FSDirectory.Open(indexPath);
var analyzer = new StandardAnalyzer(AppLuceneVersion);

var indexConfig = new IndexWriterConfig(AppLuceneVersion, analyzer);
using var writer = new IndexWriter(dir, indexConfig);
using var lreader = writer.GetReader(applyAllDeletes: true);
var searcher = new IndexSearcher(lreader);

var exactQuery = new PhraseQuery();
exactQuery.Add(new Term("Id", id));
var search = searcher.Search(exactQuery, null, 1);
var docs = search.ScoreDocs;

if (docs?.Length == 1)
{
    Document d = searcher.Doc(docs[0].Doc);
    var title = d.Get("Title"));

}

The above source code for retrieving document based on Id, not for full-text search. The first few lines of code are standard initializers. Then we instantiated a PhraseQuery, we specified the search should happen on “Id” field. Then if there is a match, we retrieved the Title of the matching document.

Now let’s see how we can search based on Title and Description as mentioned above:

using var dir = FSDirectory.Open(indexPath);
var analyzer = new StandardAnalyzer(AppLuceneVersion);

var indexConfig = new IndexWriterConfig(AppLuceneVersion, analyzer);
using var writer = new IndexWriter(dir, indexConfig);
using var lreader = writer.GetReader(applyAllDeletes: true);
var searcher = new IndexSearcher(lreader);

string[] fnames = { "Title", "Description" };
var multiFieldQP = new MultiFieldQueryParser(AppLuceneVersion, fnames, analyzer);

Query query = multiFieldQP.Parse("My Search Term");
var search = searcher.Search(query, null, 10);

Console.WriteLine(search.TotalHits);

ScoreDoc[] docs = search.ScoreDocs;
for(var doc in docs) {
    Document d = searcher.Doc(docs[i].Doc);

    var Id = d.Get("Id");
    var Title = d.Get("Title");
    var Description = d.Get("Description");
}

In the above source code, we have the standard initializers in the first few lines. Then we are specifying the columns on which the search should happen in the fnames variable. Then we instantiated a MultiFieldQueryParser to enable searching on multiple fields. Then we built the query by specifying the search term. Advanced boolean queries can also be created in this step. Then the search is performed, we can specify how many documents the result should contain, in this case, we specified 10 results. The rest of the code is regarding fetching the field values.

I am hoping this blog article helps someone.

Categories
AWS

AWS CLI – Copying objects from and to S3

This is a very small blogpost about how to copy objects from S3 and to S3. The blog post assumes AWS CLI is installed and configured, and the user has appropriate permissions.

The command is simple and strightforward:

> aws s3 cp <src> <dest>

If copying from current computer to s3 an example would be:

> aws s3 cp "/path/file.zip" "s3://<BucketName>/Path/destinationFile.zip"

If copying from s3 to localhost the source and destination would be reversed.

> > aws s3 cp "s3://<BucketName>/Path/destinationFile.zip" "/path/file.zip" 
Categories
.Net C# Lucene Solr

Lucene vs Solr

I played around with Lucene.Net and Solr. Solr is built on top of Lucene.

Lucene.Net is a port of Lucene library written in C# for working with Lucene on Microsoft .Net stack.

Lucene is a library built by Apache Software Foundation. Lucene provides full-text search capabilities. There are few other alternatives such as Sphinx, full-text search capabilities built into RDBMS’s such as Microsoft SQL Server, MySQL, MariaDB, PostgreSQL etc… However, full-text search capabilities in RDBMS’s are not as efficient as Lucene.

Solr and ElasticSearch are built on top of Lucene. ElasticSearch is more suitable and efficient for time-series data.

Now let’s see more about Solr vs Lucene.

Solr provides some additional features such as replication, web app GUI, collecting and publishing metrics, fault-tolerant etc… Solr provides HTTP REST-based API’s for management and for adding documents, searching documents etc…

Directly working with Lucene would provide access to more fine-grained control.

Because Solr provides REST based API’s there is the overhead of establishing HTTP connection, formatting the requests, JSON serialization, and deserialization at both ends i.e client making the call and the Solr server. By directly working with Lucene this overhead does not exist.

If searching through the documents happens on the same server, working directly with Lucene might be efficient. Specifically in lesser data scenarios, but if huge datasets and scaling are a concern, Solr might be the proper approach.

If server infrastructure requirements require separate search servers and a bunch of application servers query the search servers for data, Solr might be more useful and easier because of existing support replication and HTTP API’s.

If performance is of the highest importance and still fine-grained control is needed, custom-built applications should expose the data from search servers and some other more efficient protocols such as gRPC could be used and obviously, replication mechanisms need to be custom-built.

Categories
Github

How to access GitHub with SSH keys

Sometimes we need to access private repositories of a github account from linux servers for various purposes. For example, I have MFA enabled on my Github account, I need to clone a private repository inside a Linux server hosted in AWS. This article explains how to deal with such situations.

This is pretty much a re-hash of the steps provided in but in a slightly friendlier way.

Generating a new SSH key and adding it to the ssh-agent

Adding a new SSH key to your GitHub account

Login into your server and generate SSH keys by issuing the following command:

ssh-keygen -t ed25519 -C "<YOUR_EMAIL_ADDRESS>"

You would be prompted for a filename, password and re-type password. You can accept the defaults and click enter or enter a separate filename and password.

Now start the SSH agent by issuing the following command:

eval "$(ssh-agent -s)"

Now add the previously generated key for usage by issuing the following command:

ssh-add ~/.ssh/id_ed25519

Now either copy the content of the public key by using the clip command or view the content of the public key by using the cat command:

clip < ~/.ssh/id_ed25519.pub
or
cat < ~/.ssh/id_ed25519.pub

Now go to your GitHub account, sign-in and click on your profile on the right side top and click settings.

GitHub Profile Menu

From the left menu click SSH and GPG Keys

GitHub profile settings page’s left-side menu

Click New SSH Key

SSH Keys

Provide a title, a friendly name to remember, and enter the public key and click Add SSH key.

Add SSH key screen

Depending on your settings you might be prompted to re-authenticate or for MFA.

Now try cloning a repository from your Linux terminal. First copy the SSH URL of the repo:

Git clone URL screen

Then issue the following command on the Linux terminal to clone the main branch or a specific branch.

git clone <SSH_URL>
or
git clone --branch <BRANCH_NAME> <SSH_URL>

Hoping this helps someone :).