Add free search for your website. Sign up now! https://webveta.alightservices.com/

KickStarter campaign, offering steep discounts. Sign-up and support if possible. Thank you!

Categories
.Net AWS C# CI/CD Code Build Github

How to setup CI/CD for C# application in AWS Lambda

In this blog post, I am going to write how to setup a CI (Continuous Integration)/CD (Continuous Deployment) pipeline for C# application in AWS Lambda.

The source code repository can be either be Github, AWS CodeStar. Then we are going to use CodeBuild for setting up build by writing a YAML file in the root of source code repository known as buildspec.yml.

Inside the buildspec.yml file, we would use dotnet lambda tool for the deployment.

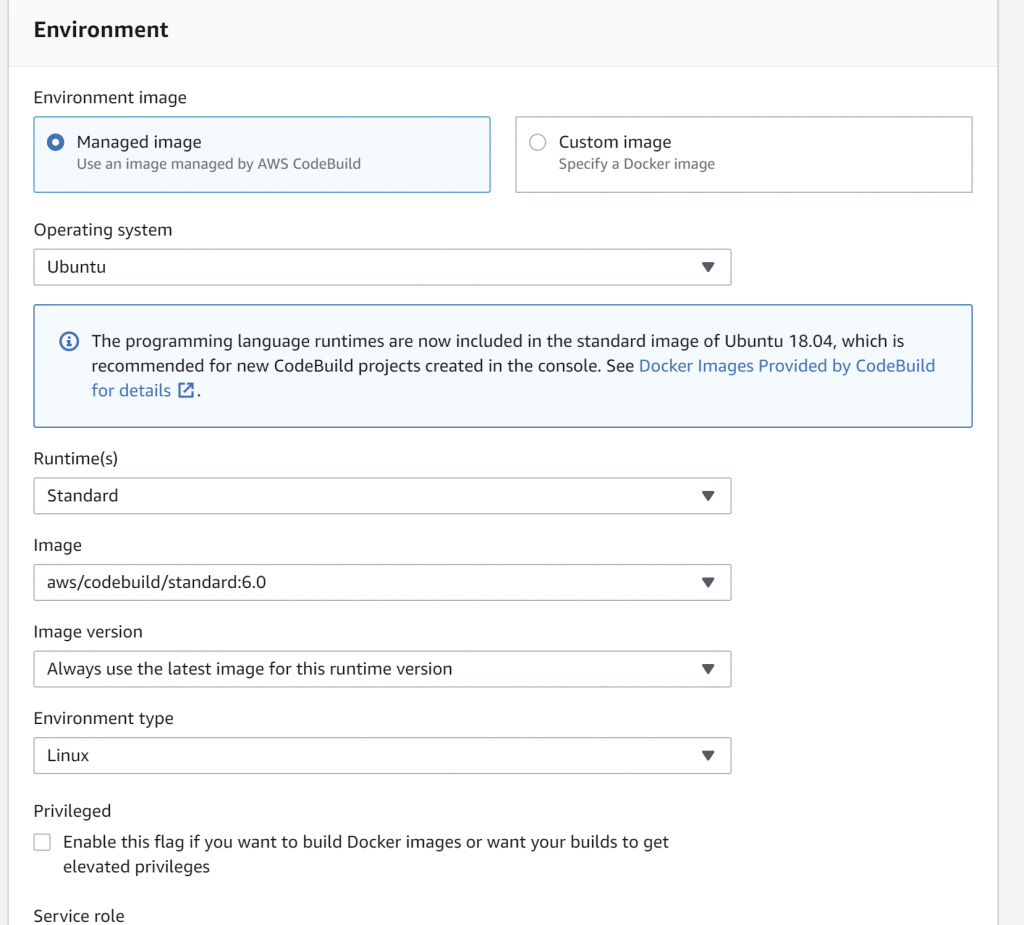
Create a new AWS CodeBuild Project by choosing the source provider and the other options. Use the Managed Image, Ubuntu, Standard, aws/codebuild/standard:6.0 image. Make note of the new role created or if using existing role, make note of the role.
Create a new Lambda function with a .Net 6.0 runtime, make note of the IAM role for the Lambda function and the name of the Lambda function. The buildspec.yml mentioned below assumes the lambda function has a name of LambdaFunctionName and the role arn:aws:iam::xxxxxx:role/service-role/xxxxrole.

The following is an example buildspec.yml file:

version: 0.1
env:
  variables:
    DOTNET_ROOT: /root/.dotnet
phases:
  install:
    runtime-versions:
      dotnet: 6.0
  pre_build:
    commands:
      - echo Restore started on `date`
      - export PATH="$PATH:/root/.dotnet/tools"
      - pip install --upgrade awscli
      - cd Project1
      - dotnet clean
      - dotnet build
      - dotnet test
  build:
    commands:
      - echo Build started on `date`
      - dotnet new -i Amazon.Lambda.Templates::*
      - dotnet tool install -g Amazon.Lambda.Tools
      - dotnet tool update -g Amazon.Lambda.Tools
      - dotnet lambda deploy-function "LambdaFunctionName" --function-role "arn:aws:iam::xxxxxx:role/service-role/xxxxrole" --region "eu-west-2" --fn "LambdaFunctionName"

In the above buildspec.yml file sample, we are using .Net 6, navigating to the folder where the .sln file is located, and doing a clean, restore, build and test. Once these steps have passed, we are installing AWS Lambda tools, using lambda deploy-function for deploying.

Remember to change the cd statement to the appropriate folder structure to navigate to the folder which contains your .sln solution file, the Lambda Function Name and the IAM role of the Lambda Function in the above buildspec.yml file.

We still need to grant permissions for the role under which the build is running the permissions to deploy the code to Lambda. Now navigate to IAM and either create a custom policy or attach an inline policy directly to the CodeBuild role.

In the below screenshot, I have attached an inline policy:

That’s all for now! Happy coding my dear fellow developers!

Meanwhile, terrorist Veera, Bandhavi, Erra surnamed people, Uttam, the female who claims to have a first name of Kanti would be happily hacking, violating human rights and doing identity theft.

We need to secure our applications and our users from such malicious hackers/spies/terrorists and prevent espionage.

Categories
.Net UnitTests

Code coverage in .Net

This blog post can be considered obsolete. OpenCover tool has been archived. Refer to this blog post for latest:

Code coverage in .Net

This blog post covers code coverage in .Net. Particularly we would be discussing about code coverage using NUnit, OpenCover, ReportGenerator tools.

For the sake of this discusson we would assume we have some projects in the following namespaces:

Project1.Facade;

Project1.App

Project1.Service

Project1.Facade.Tests – NUnit Test Project

Project1.Service.Tests – NUnit Test Project

First we would need to run the tests using NUnit console test runner. The NUnit Console Test Runner can be downloaded from here under releases section. The assumption is the package has been installed under C:\ drive and C:\NUnit\nunit-console\nunit3-console.exe exists, if not adjust the path as necessary.

Create a batch file and call it “RunTests.bat” with the following content:

C:\NUnit\nunit-console\nunit3-console.exe .\Project1.Facade.Tests\bin\Debug\net6.0\Project1.Facade.Tests.dll
C:\NUnit\nunit-console\nunit3-console.exe .\Project1.Service.Tests\bin\Debug\net6.0\Project1.Service.Tests.dll

Now we will create another batch file “CodeCoverage.bat” for the commands for OpenCover and ReportGenerator. The assumption is that OpenCover and ReportGenerator have been installed at the following locations:

C:\OpenCover\OpenCover.Console.exe, C:\ReportGenerator\net6.0\ReportGenerator.exe.

The content of batch file would be:

C:\OpenCover\OpenCover.Console.exe -target:.\RunTests.bat -register:user -filter:"+[Project1*]* -[Project1*Tests]*" -oldstyle -mergeOutput

C:\ReportGenerator\net6.0\ReportGenerator.exe -reports:results.xml -targetdir:coverage

start .\coverage\index.htm

We first have OpenCover run the RunTests.bat it collects some data and generates results.xml file. The important parameters are the -filter, -oldstyle, -mergeOutput. The results.xml file becomes the input of ReportGenerator. ReportGeerator generates some reports and saves inside a directory by the name of coverage.

The last command opens the index.html file from the generated report.

A bunch of log files, xml files are generated during these. Assuming there are no other xml or log files, these can be removed easily by adding appropriate del commands in the second batch file.

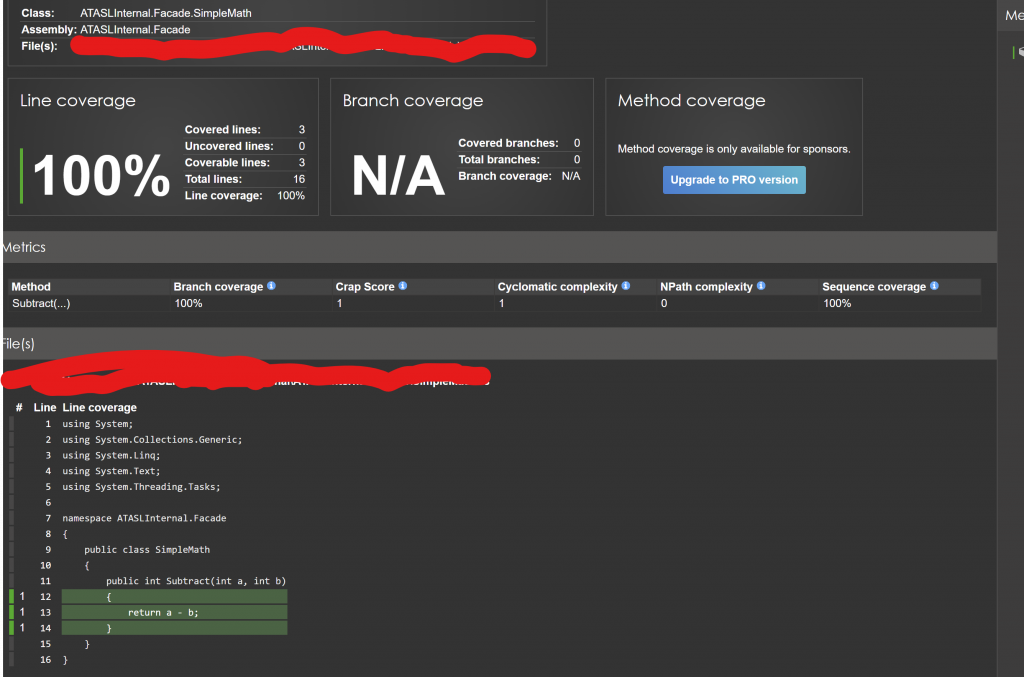
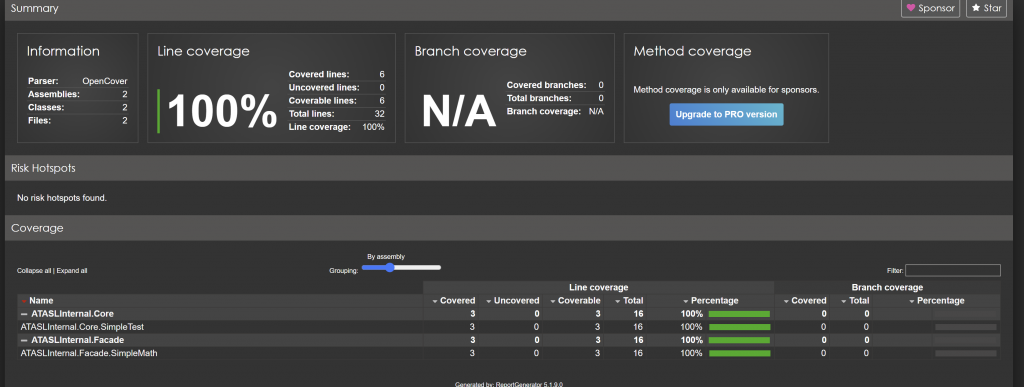
The project structure is slightly different, but some sample Add and Subtract example screenshots can be seen below:

Hoping this post helps someone in improving coding practices! Worked a little bit late into the night, I work for myself – for my own startup, no worries!

Code coverage in .Net